Color a Base
You’ve chosen well to keep reading! So now the coloring begins and this is my favorite part because your drawing truly starts coming to life. So there are a couple of things you need to do before you start coloring. Take a look at all your outline layers. These should all be black wirings on the white background layer. The next step is to select all of these outlines and select their blending mode to ‘multiply’. This is a neat blend primarily because it allows you to NOT have color over those lines. If you’re not fully understanding what I mean, just read on.

So all of our outlines are set to multiply. This means that no matter what colors we use, the black outline will prevail in priority. What comes next is creating your colors. The first step is to create a new layer and put it underneath the outlines. This layer will be your color layer. If you’re doing a particularly detailed drawing, I suggest you using multiple layers, as many as one layer per color. Like above, this gives you creative freedom to delete or move one color without affecting the others. For example, I have a layer called Catwoman suit base. This color layer is primarily one color. There are 2 primary ways of coloring I use: the standard ‘color in between the lines’ method and the ‘magic wand method’.
The second method is far more effective in my opinion, but I’ll explain both. The ‘color in between the lines’ method is fairly straight forward. On the color layer, simply choose the desired color, and color in between the lines. When you’re done with that section, you can either change color and work on another section or do what I recommended and create a new layer for a different color. This method is tedious, and will likely burn out your nib. The ‘Magic wand’ method is far more efficient, but it requires more steps and can become complicated. Once you created your color layer, switch back to the core outline layer. Use the magic wand tool and select an entire area that will be one color. The next step requires you to go to the ‘select’ button on your toolbar. On the drop down, you’ll see a modify option where it opens up about 4 more options. Select expand and choose 1-2 pixels.

This will create the selected and make it 1 or 2 pixels bigger. With the selection still highlighted, switch back to the color layer. Using your paint bucket tool, choose the wanted color and fill the selected area. You’ll see that your entire selection is filled. The expansion you did earlier was to compensate for the few pixels of white space between the outline ink and inside. By expanding this and filling it under the layer of the outline, you cover up all white space with the desired color without interfering with the outline. This method comes with it’s own vices. Some of the deep corners where the magic wand can’t reach won’t be selected, so you’ll have to use the traditional method to clean these places up.
Do this for all sections, when in doubt or if you have an issue with the ‘magic wand’ method, resorting to the traditional means of coloring won’t fail you. This is the part where my Catwoman is at currently. I hope to accomplish these next few step throughout the weekend.
So you’ve essentially got a very basic color edition of your drawing. Once again, you can throw in the towel at this point and be very proud of what you’ve accomplished. This is where I stop with my comics because the next few steps are even more open ended than the detailing. Shadows and Gleams are analogous to colors as detailing the outline is to the basic frame. This section is open ended and you’ll find yourself saying, ‘oOo, I can add a darker tone here’ or ‘I can do another shadow here’, compared to the basic coloring eventually has an end.

Color Details: Shadows, and Gleams
You ambitious little minx, you. So want to add shadows, gleams, and other color details. I heavily believe this part to separate the pros from the amateurs seeing as even I can’t do this part well. There are multiple ways to approach this, so I’ll go over a few ways.
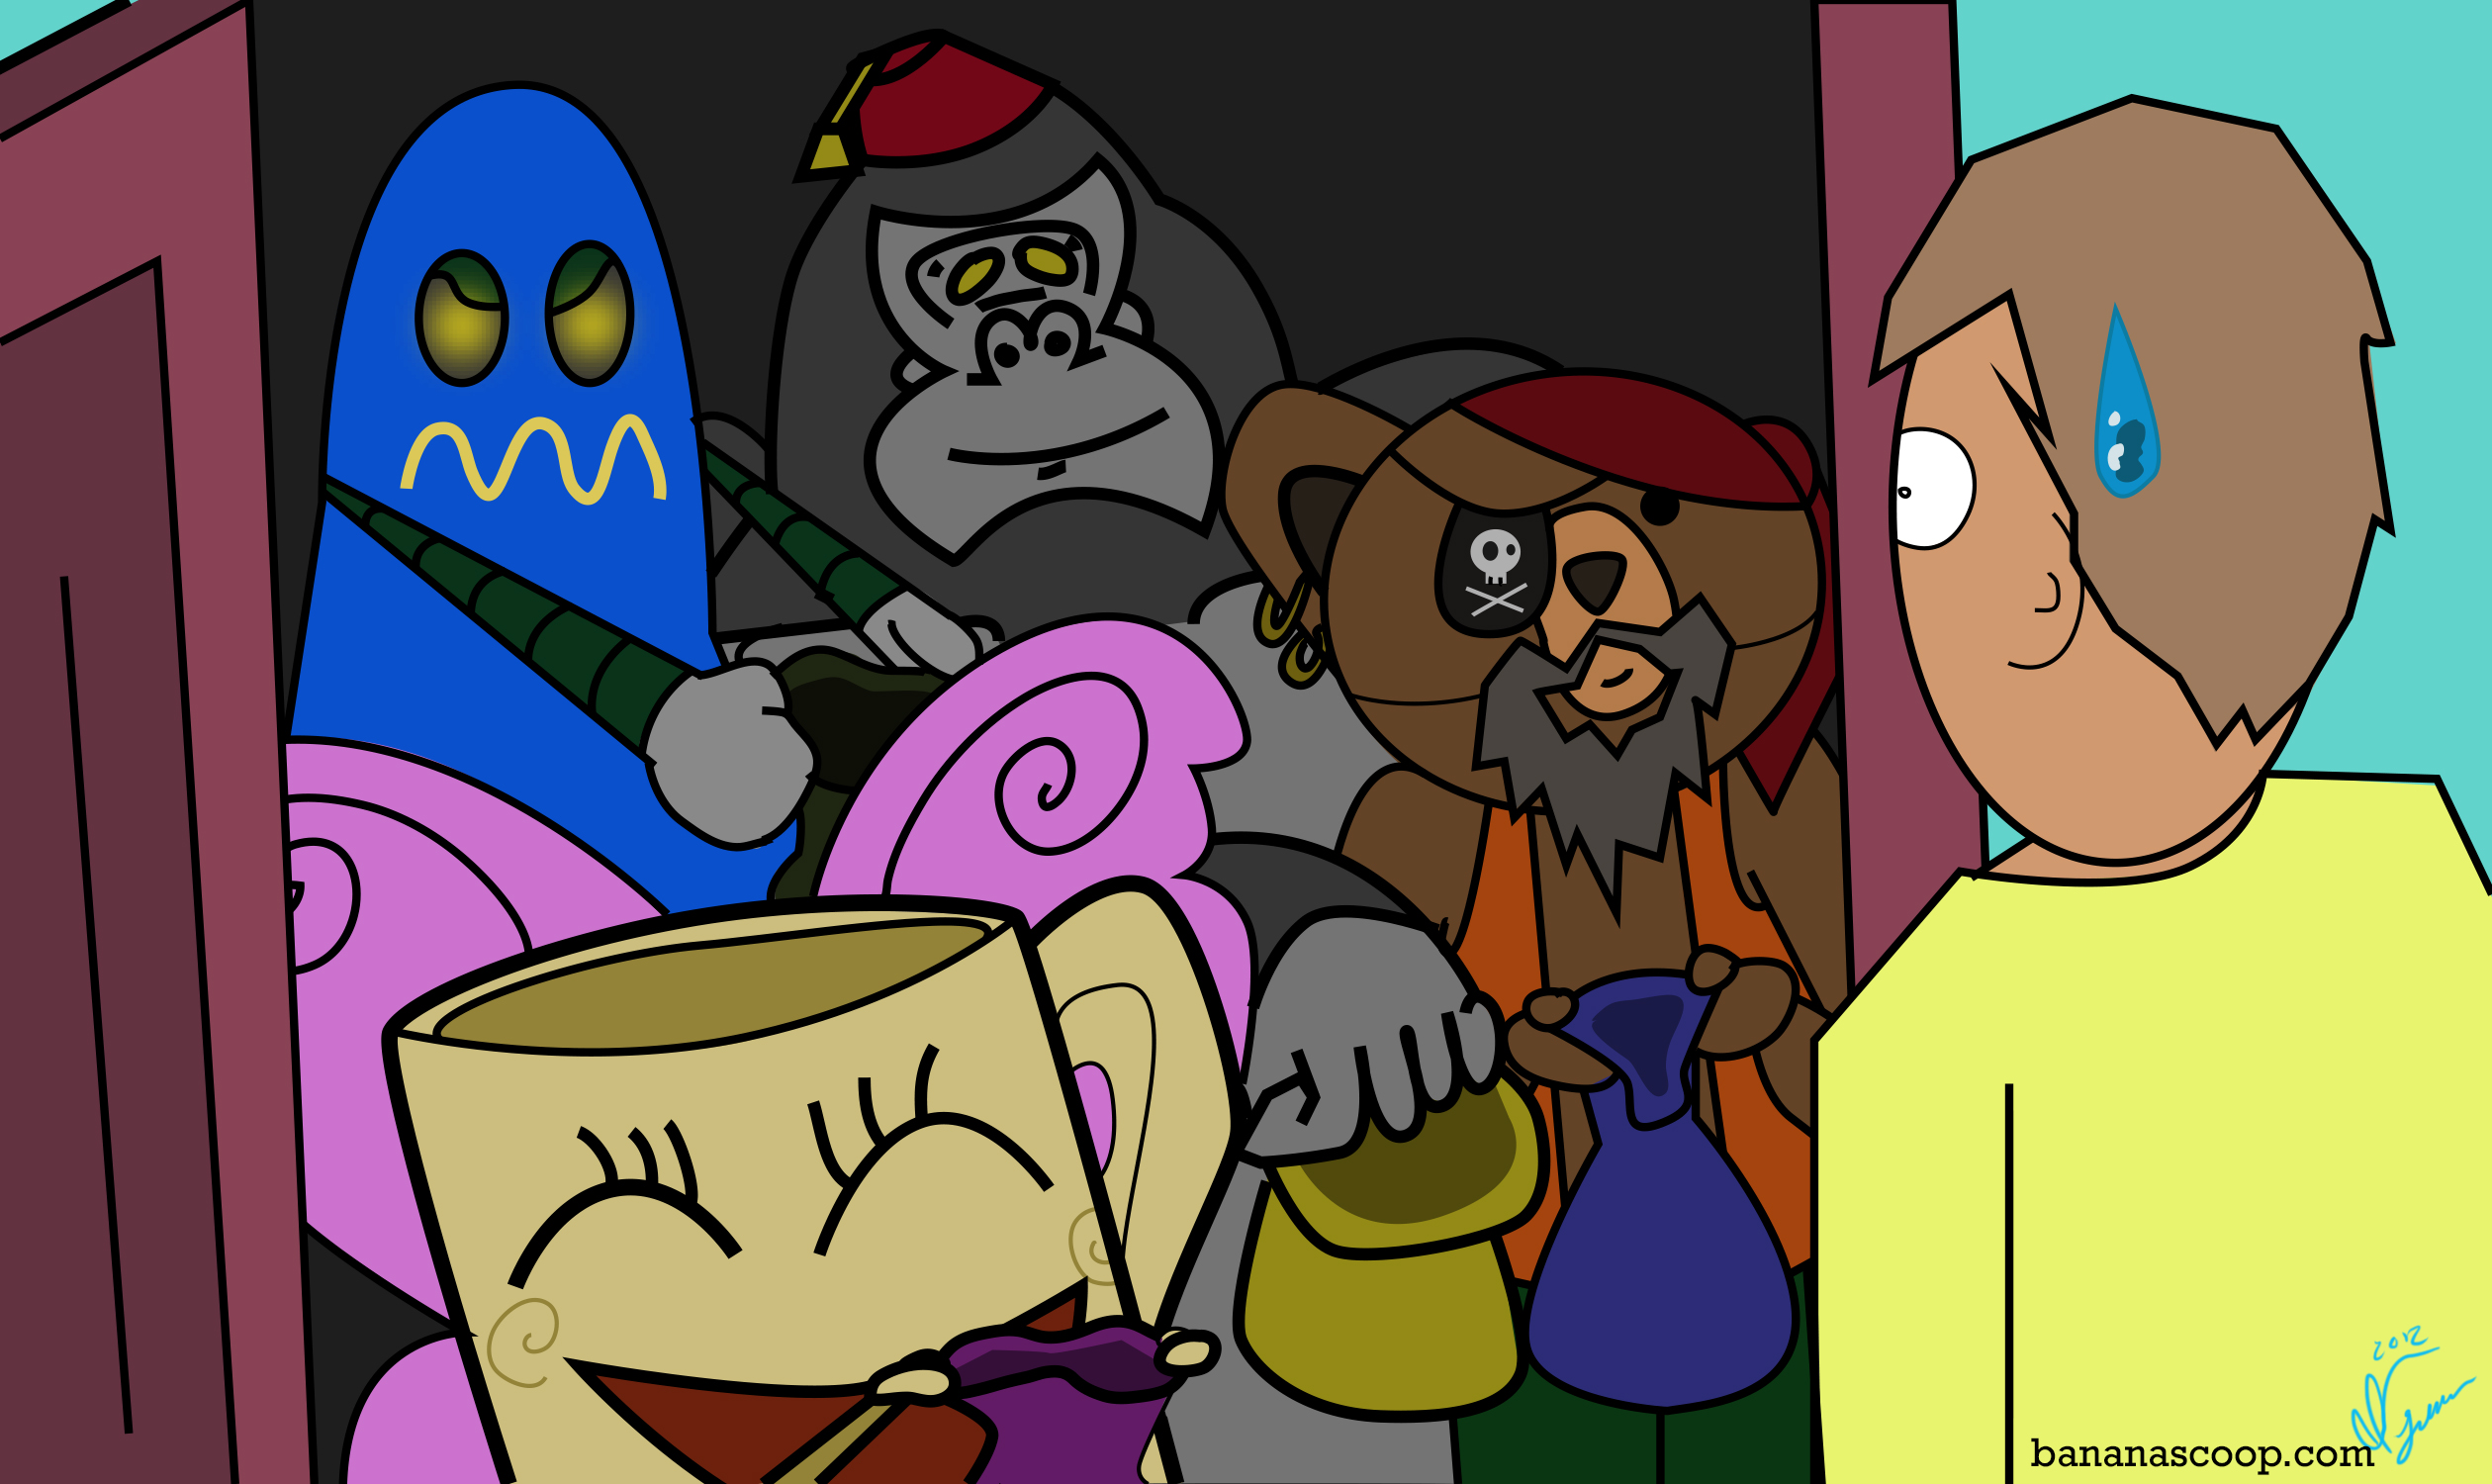
The main idea of this article continues: make new layers! At this point you can have anywhere from a dozen or more layers floating around, so naming them is crucial! It’s much easier to identify the layer through text than go through them individually and moving them to see what moves what. This is an important habit to get into. You can either create a single layer for all shadows if you have a simple drawing, or you can separate the shadows into different layers. The way I learned was that drawings don’t have a single shadowy color [i.e. black], but that each shadow is a darker version it’s base color. So one way I do shadows is that I eye drop a color that a shadow will be upon and bring it down a couple of shades. In my new shadow layer, I’ll mimic what a shadow would do. Voila! You’ve created shadows. This is in my opinion the simplest of the color detailing. And it’s immensely gratifying because it truly does make a big different in your drawing.

Gleam on the other hand is the opposite of shadows. It’s supposed to represent where the sunlight hits. To do gleam, I usually do something very similar to the process of creating shadow. I select the area of gleam I want, eyedrop the color, and raise it a few tones up. Combining different layers of gleam and shadow are crucial to authenticating your drawing.
Background
Backgrounds are entirely up to you. When I do character profiles of certain pop culture icons, I tend to stray away from backgrounds as they take away from the essence of the profile. But they never hurt. One way I keep is simple to go minimalist style, where there are no heavy outlines, so the background feel is kind of blurry. Whether or not any of those terms are accurate are unknown to me: I am not an art student.
Final Touches & Sign and Upload

I’d go ahead and recommend you save a jpeg version of your photo. Then use your computer explorer to take a look at it without the walls of photoshop toolboxes. By doing so, you can focus on anything that might possibly stand out or anything you might want to change. After all the final touches are complete, you’re ready to sign it and upload it. Signing is key to proving your work is original and by you. If you’re fantastic artist, signing will allow anyone who’s interesting in seeing more of your work to visit your page or possibly Google you. And once you’re done with all that, it’s time to share with the world what you’ve accomplished. I personally use the medium Deviant Art as a means to share my work, but if you just want to use Facebook or Twitter, that works just fine.
And with that you [and I] are done! You’ve created something wonderful. Remember, please don’t hesitate to ask any questions in the comments and I’ll definitely answer. Happy drawing everyone!


Discuss with the Community!